This guide is for readers who found meshi ai and want to turn one building photo into a 3D model. It covers choosing a useful image, checking guessed geometry, setting scale, and exporting for render, AR, or print.
One building photo can become a model you can orbit, render, place in AR, or print at scale. The useful work is choosing an image that shows depth, checking what the generator guessed, and sizing the mesh for its destination.
The short version
- Start with one building fully in frame, photographed or drawn from a three-quarter angle that shows the roof and two facades.
- Use 3D Studio’s 3D architecture models workflow to make a concept mesh, then rotate it to inspect the sides the picture did not show.
- Set scale from a real measurement before printing or placing the model in AR. The generated mesh does not know the building’s dimensions.
- Choose GLB for renders and web viewers, STL or 3MF for printing, OBJ for other mesh editors, and USDZ for iPhone AR.
1. Choose a picture that explains the building
I would begin with the exterior, not a floor plan. A floor plan tells a person where rooms go; a picture of a building gives an image-to-3D generator the outline, shading, perspective, roof shape, and visible facades it needs to predict a surface. The result is a mesh, not a building assembled from measured walls and windows.
A front-corner view is the most useful starting point. It shows the front and one side, while a slightly raised viewpoint reveals the roof. Keep the whole building inside the frame. If the source is a street photo, crop away as much of the neighboring buildings, cars, and trees as you can without cutting off the subject. A clean render or a clear sketch can be easier to interpret than a busy photo.
Look at the image as if you had to build the unseen side yourself. A straight-on facade supplies little evidence about depth, so much more of the model will be guessed. Strong shadows can also look like architectural features. I prefer soft daylight that lets the actual edges do the explaining. Make sure you have the rights to use the source image, particularly if the result is going into a client presentation.
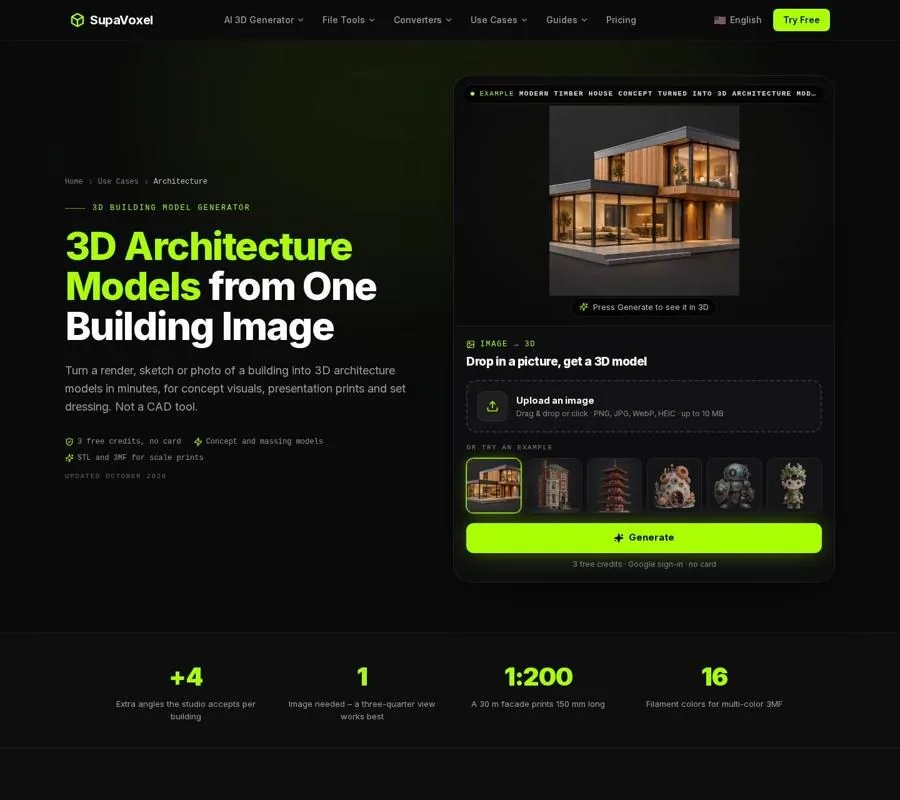
The architecture page sets out the building-image workflow and its concept-model limits.
2. Generate the shape before worrying about color
Upload the building image and start with geometry only if your first question is, “Did it understand the roof and massing?” On 3D Studio, that run costs 1 credit and produces an untextured model. A textured run costs 3 credits, requires a paid plan, and carries colors from the image onto the surface. New accounts receive 3 free credits at sign-up.
The broader image to 3D generator is useful when you need the upload and generation options: it accepts PNG, JPG, WebP, and HEIC images up to 10 MB, and the studio can take a main image plus up to 4 extra angles of the same subject. For a building, those extra views are most valuable when they reveal a facade or roof feature that the main picture hides. Keep every image focused on the same building.
I would not pay for texture to diagnose a silhouette problem. A gray mesh makes a misplaced roofline or swollen porch easier to spot. Once the shape is useful, decide whether brick, roof, and facade colors matter to the destination. A white presentation print may not need them; a render or AR placement usually benefits from them.
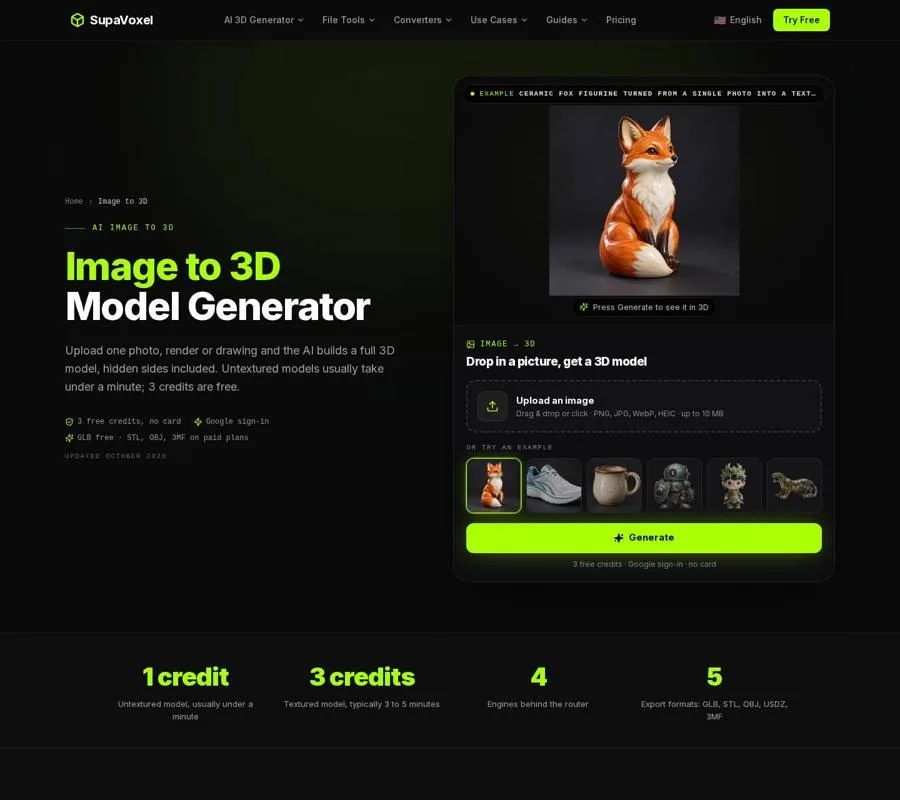
The image-to-3D page shows the general picture-to-model route and its geometry and texture choices.
3. Inspect the surfaces the camera never saw
Do not judge the result from the angle that matches the photo. Rotate it to the back, look down at the roof, and check the footprint from above. The generator predicts hidden surfaces; it does not discover them inside the picture. An unseen rear extension may be missing, a side wall may have invented windows, or a roof may continue in a way the source never established.
Compare the model against your intended use, not against an impossible standard of photographic certainty. For a distant context building in a render, the overall roof and silhouette may be enough. For a print of a particular house, the back and sides remain part of the object people can pick up and inspect. If an important side is wrong and you have another view, add it and regenerate rather than trying to correct an invented facade through scaling.
Also check whether the model is one sensible shell. Window recesses, railings, and overhangs can create awkward geometry at small print sizes. For a render, a visual defect may be hidden by the camera. A slicer will still have to interpret the actual mesh. Keep those as separate checks: “Does it look right?” and “Can I make the geometry usable for this output?”
4. Give the mesh a real scale
An STL does not carry dependable real-world units, and an AI-generated building has no measured dimensions to begin with. Write down a known facade length before resizing anything. Then divide that real length by your chosen model scale and set the corresponding mesh length in Blender or your slicer.
For example, a 30 m facade at 1:200 should measure 150 mm on the print. Resize the mesh until that particular facade measures 150 mm; do not assume the model arrived at the right size because it looks proportionate on screen. Check another recognizable feature afterward. If the source image led to distorted proportions, matching one length will not make every other length exact.
Now inspect the details at the new size. At 1:200, a 20 cm mullion becomes 1 mm wide—close to the limits of what a 0.4 mm nozzle can draw reliably. A railing that looks substantial on a monitor may disappear or become fragile in the print. I would simplify such details, choose a larger print scale, or consider resin for finer features rather than trust the preview alone.
Before exporting a generated model for printing, use the studio’s repair to make a watertight shell and check the result in your slicer. Repair and other in-studio print-prep features for generated models are included in every paid plan from $25 a year. Repair helps a mesh slice; it cannot restore an architectural feature that was guessed incorrectly.
5. Export for the job you actually have
The format decision comes after inspection and scale, because the same building may need different files for a presentation and a print.
- GLB — Use it for renders, web viewers, Blender, and game scenes. It can carry an embedded texture and is the free download.
- OBJ — Use it when another 3D package wants an editable mesh import. It can carry texture information with an MTL file, but it will not turn the building into editable architectural walls. OBJ export requires a paid plan.
- STL — Use it for a single-color FDM or resin print. It carries geometry, not the building’s painted colors; set its dimensions in the slicer. STL export requires a paid plan.
- 3MF — Use it for a multi-color print. The studio can assign 4 or 16 filament colors to a generated model; this export requires a paid plan. Inspect the color assignments as well as the geometry before printing.
- USDZ — Use it to show the building through AR Quick Look on an iPhone or iPad. USDZ export requires a paid plan.
For placement in a room or on a table, follow the AR 3D models workflow after setting the building’s intended size. Android Scene Viewer uses GLB; Apple AR Quick Look uses USDZ. AR scale needs its own check: glTF treats 1 unit as 1 m, so set the GLB dimensions in meters and apply the scale before export. Open the result on the device rather than assuming that a correctly sized slicer preview guarantees a correctly sized AR object.
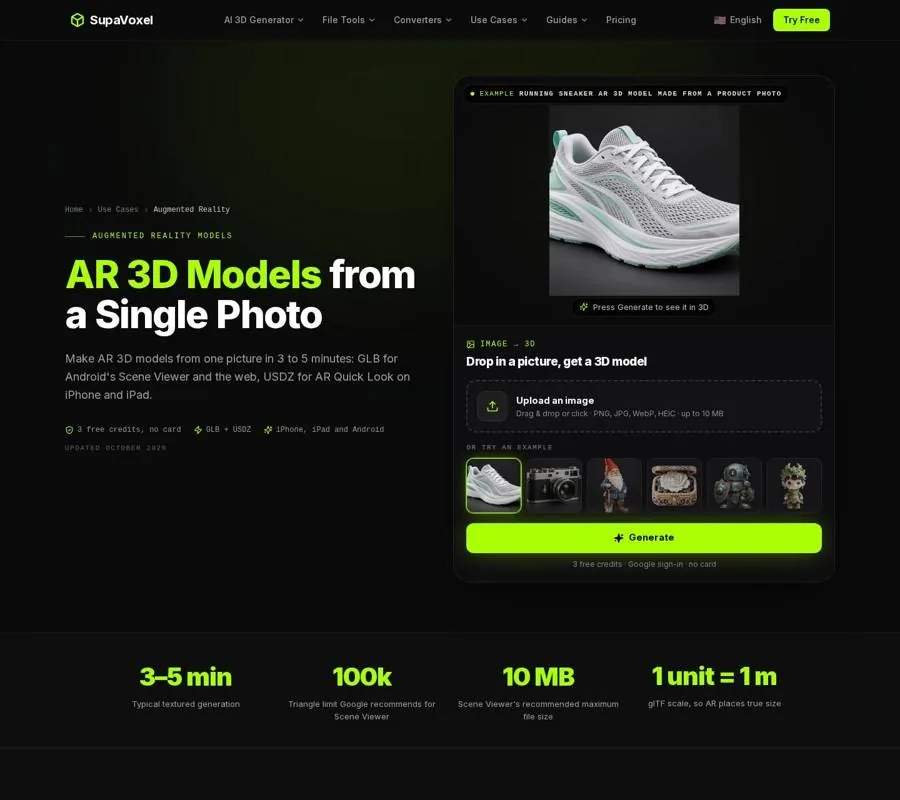
The augmented-reality page separates the GLB and USDZ paths and explains why real-world size matters.
FAQ
Can I use a straight-on photo of the front?
You can, but the generator must guess the building’s depth, roof, and hidden sides from less evidence. A three-quarter view is a better starting point; extra angles help when a particular facade matters.
Why does my building look right on screen but print badly?
Screen size hides thin features and mesh defects. Set the intended scale, inspect small details in the slicer, and repair the shell before printing. If a feature becomes too thin, changing the export format will not make it printable.
Should I choose STL or 3MF for a house print?
Choose STL for a single-color print. Choose 3MF when you want the studio’s assigned filament colors on a compatible multi-material printer. In either case, verify the model’s size and geometry before sending it to the printer.