Looking for meshi ai? This guide explains how to prepare a product photo, generate a textured game-ready model, inspect unseen surfaces, and export the result.
I start with the photo, not the model settings: clear edges and even lighting give the generator a better basis for both shape and color. The important check comes after generation, when I turn the model around and inspect the surfaces the camera never saw.
The short version
- Photograph one product against a plain background, in soft, even light. A three-quarter view reveals more shape and color than a straight-on shot.
- Choose a textured run to generate a new mesh with its paint already applied. It costs 3 credits and requires a paid plan.
- Rotate the result before exporting. The photographed side has a reference; hidden sides depend on prediction unless you provide more views.
- Download the textured GLB, then reduce and check the asset against your game’s performance and visual needs.
Step 1: Take a photo the model can read
A product photo made for a shop listing is not automatically a good reference for a game prop. A dramatic shadow may help sell the product, but it can become part of the generated texture. A bright reflection on glossy packaging can turn into a white patch of paint. I look for a shot where the object is fully in frame, its outline is easy to follow, and light falls fairly evenly across it.
Place a single object against a plain background. Keep labels and decorative details visible, but do not count on tiny text surviving generation. If the back has a different color or a label that matters to the game, photograph it too. The generator cannot recover a specific design from a surface absent from the reference.
I favor a three-quarter view for the main image. It gives the model evidence about depth and shows color on more than one face. I avoid cropping off handles, feet, lids, or other parts the shape must include. If I have no usable product photo yet, 3D Studio’s text to 3d workflow can make a draft picture from a prompt before turning that picture into a model; its prompt-to-picture step requires Pro. For an actual product, though, a photograph is the better starting point for its particular colors and markings.
Step 2: Generate the shape and paint together
3D Studio’s ai texture generator takes a picture and builds a new model with its texture painted in the same run. It does not apply AI paint to a mesh you already own. That distinction matters here: the aim is to reconstruct the photographed product as a game prop, not to recolor an existing asset.
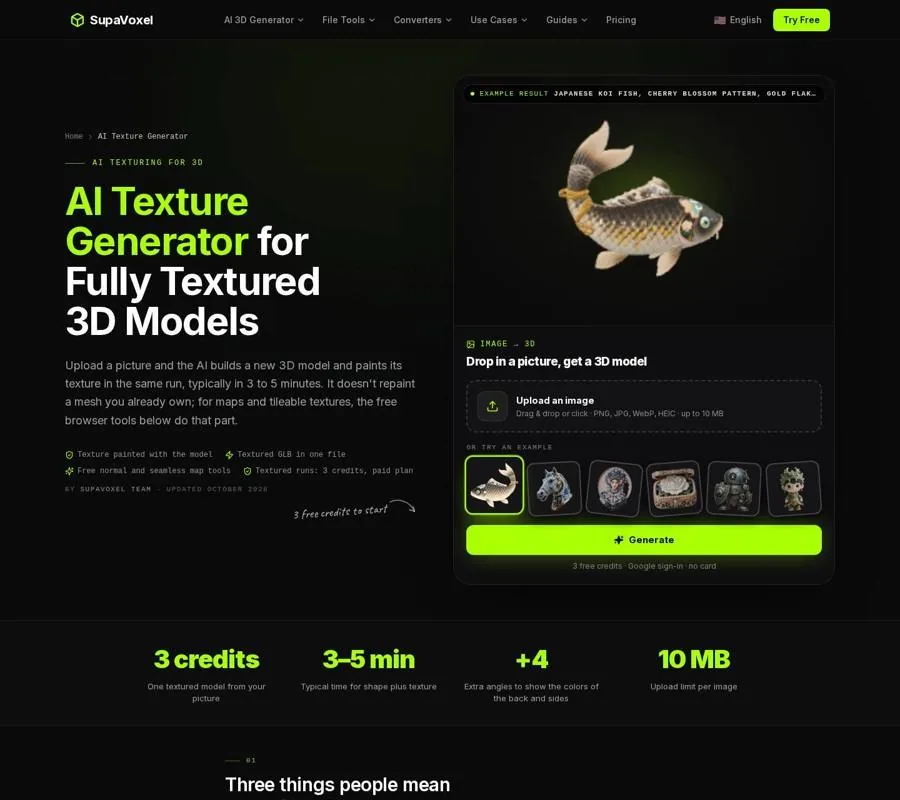
The AI Texture Generator page describes the picture-to-model workflow and the textured output.
Upload a PNG, JPG, WebP, or HEIC image within the 10 MB limit. Background removal is on by default. If you photographed extra views, the studio accepts up to four additional angles of the same object. They are especially useful when the sides or back differ from the front.
Select Full for a textured model rather than geometry only. A Full run costs 3 credits, requires a paid plan, and typically takes 3 to 5 minutes. Geometry only costs 1 credit and is useful when I want to judge the silhouette before paying for paint. New accounts get 3 free credits at sign-up, but those free runs produce untextured models; they are not a free textured export.
The workflow builds shape first and paints it afterward. That explains why the result needs two kinds of inspection. A believable silhouette does not guarantee accurate colors, and attractive paint can distract from a bent handle or an invented opening. I judge those separately before deciding the asset is worth preparing for a game.
Step 3: Inspect what the photo did not show
Turn the finished model all the way around. I check the front against the reference first, then spend more time on the back, sides, and underside. The front can follow photographed colors and patterns. On unseen surfaces, the AI has to infer what a similar object might look like. That may be enough for a plain-backed prop, but it is not a dependable way to reproduce a specific rear label or wraparound stripe.
Look for color changes that stop abruptly at an edge. Check whether a pattern continues around a corner in a plausible direction. Inspect handles, gaps, and the bottom for shape problems as well as paint problems. If the prop will sit against a wall, a weak back may never be seen in play; if players can pick it up and rotate it, that same weakness becomes important.
Also ask whether the texture looks lit before the game engine lights it. Shadows and highlights in the source photo can be painted onto the model. Under scene lighting, that fixed shading may appear doubled: a photographed dark side stays dark even when a game light points at it. If that happens, I would start again with a more evenly lit reference rather than try to solve the problem by changing lights in the scene.
When the hidden colors matter, use additional photographs showing those surfaces and generate again. More views provide evidence; they do not replace the need to inspect the result.
Step 4: Make the GLB suitable for the game
Download the GLB once the model passes the visual check. Its texture is embedded, so there is one file to bring into the next stage. That convenience does not make the raw generation ready to scatter throughout a level.
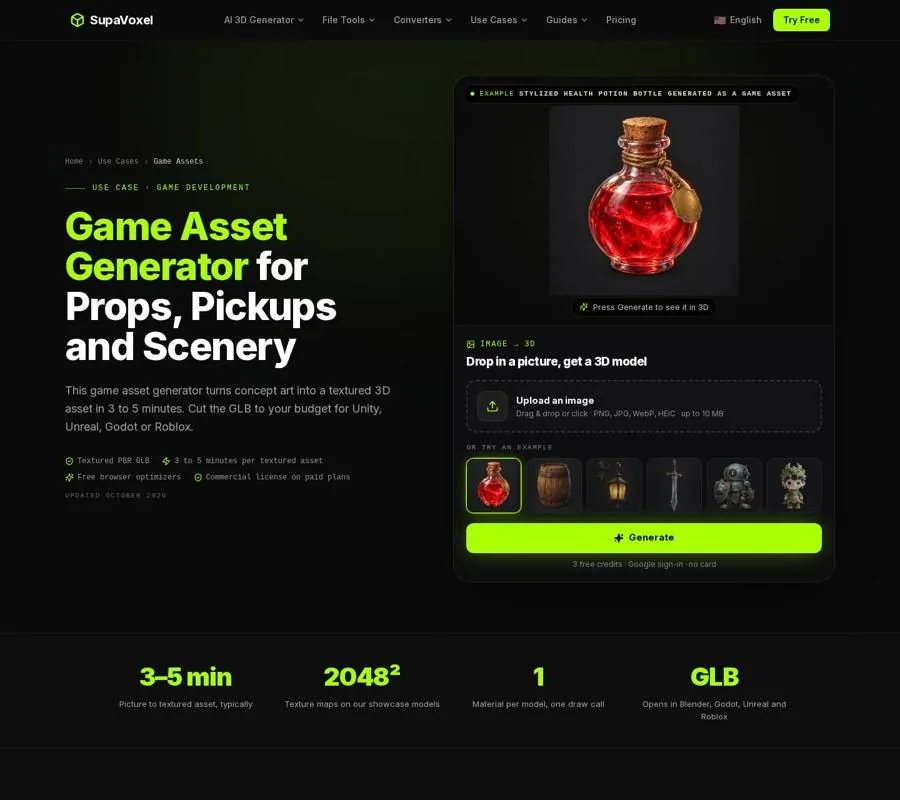
The Game Assets page covers reducing a generated prop and bringing its GLB into an engine.
3D Studio’s game asset generator guide is useful at this handoff: it covers polygon budgets, GLB compression, and engine imports. Its showcase generations are around 500,000 triangles, with 2048 × 2048 texture maps. That level of detail can suit a close view, but it is excessive for a small prop repeated across a scene.
Keep the original file, then make a lighter copy for the game. Reduce triangles according to how large the product appears on screen and how often it appears. Downsize the texture if the object occupies little screen space. Review the reduced copy from the camera distances players will actually use: simplification may erase a recognizable lip or handle long before it damages broad surfaces.
After import, set the scale and add a simple collider instead of treating the detailed visual mesh as the collision shape. A clean GLB import is only a starting point. View the asset under your game’s lighting, beside nearby props, and in motion through the scene. That is where an oversized texture, a mismatched art style, or baked-in glare becomes easy to spot.
Step 5: Decide whether this prop needs more art work
This process suits static props, pickups, and set dressing. It does not produce a rig, animation, or automatic levels of detail. It also does not give an artist-approved match to a strict style guide. If the product is a prominent asset whose silhouette, topology, and materials need formal review, budget for cleanup rather than assuming another generation will settle every issue.
That is also the point at which I would compare self-serve generation with a managed service. The kaedim ai comparison distinguishes 3D Studio’s self-serve workflow from Kaedim’s artist-checked production. As of October 29, 2026, Kaedim offered the managed service by custom quote rather than a public price. Those are different ways to solve an asset problem: use a quick generated prop when inspection and ordinary optimization are enough; seek human review when a production brief demands it.
For either route, write down what the asset must preserve before you start: its recognizable outline, the surfaces players can see, and any colors essential to identifying it. That makes the final decision less subjective than asking whether the generated model simply looks good on its own.
FAQ
Will a single photo reproduce the exact back of my product?
No. It gives the generator evidence for visible surfaces, while hidden colors and details are predicted. Add back and side photos in the studio if those surfaces need to match the real object.
Does the downloaded GLB include the texture?
Yes. A textured run provides a GLB with the painted texture embedded. Inspect the file after import as well as in the generator, particularly under your game’s lighting.
Should I use the untextured option first?
It can be a sensible shape check. Geometry only costs 1 credit, while a textured Full run costs 3 credits and needs a paid plan. If the silhouette is wrong, fix the reference before spending credits on texture.